Setting up low-voltage wiring is an important task that requires careful planning and expertise. Whether you’re working on a commercial building, a residential project, or an industrial site, getting the wiring right is crucial for safety and functionality. Here are twelve practical steps to ensure a successful low-voltage wiring installation.
1. Understand Your Project Requirements
Before starting, it’s important to understand your project’s specific needs. Different projects have different requirements, and knowing these will help you plan your installation effectively.
Are you building a new building or updating an existing one? What types of low-voltage systems will you be installing—security, audiovisual, data, or something else? Knowing the answers to these questions will guide your planning and ensure that you have all the necessary materials and equipment for your low-voltage wiring installation.
2. Choose the Right Contractor
Selecting the right low-voltage wiring installation contractor is a crucial step. Look for contractors with experience and a proven track record in low-voltage installations.
You want to hire a low-voltage electrical contractor who understands the complexities of your project and can offer solutions tailored to your needs. Check references, read reviews, and ensure that the contractor is licensed and insured. A skilled contractor will ensure that your installation meets all relevant codes and standards.
3. Plan Your Layout Carefully
A well-planned layout is essential for a successful installation. Determine where all your low-voltage devices will be located and plan the wiring routes accordingly.
Consider the distance between devices, potential sources of interference, and the need for future upgrades. A good layout plan will help you avoid problems during installation and ensure that your system is efficient and easy to maintain.
4. Use Quality Materials
Using high-quality materials is vital for the longevity and performance of your low-voltage system. Invest in good-quality cables, connectors, and other components.
Cheap materials can lead to frequent failures and require more maintenance over time. Ensure all materials meet the necessary standards and are suitable for your specific application. This will save you time and money in the long run.
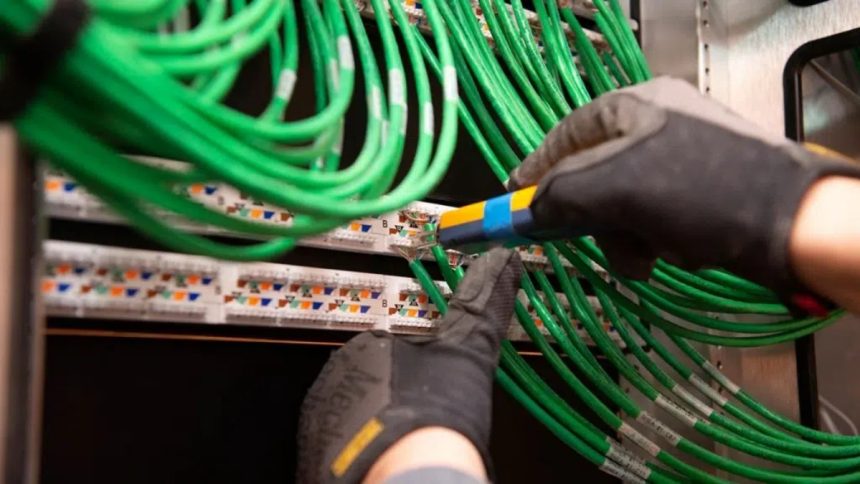
5. Follow Best Practices for Installation
Follow industry best practices during the installation to ensure a safe and reliable system. This includes proper cable management, grounding, and labeling.
Keep cables organized and avoid running them parallel to high-voltage lines, which can cause interference. Ground all equipment properly to prevent electrical faults. Labeling your cables clearly will make future maintenance and troubleshooting much easier.
6. Test Your System Thoroughly
After completing the installation, thoroughly test your low-voltage system to ensure everything works correctly.
Use testing equipment to check for continuity, resistance, and signal integrity. Identify and fix any issues before finalizing the installation. Regular testing during and after installation helps catch problems early and ensures a reliable system.
7. Document Your Installation
Proper documentation is essential for future maintenance and troubleshooting. Document every aspect of your installation, including the layout, materials used, and test results.
This information will be invaluable if you need to make changes or repairs in the future. Good documentation ensures that anyone working on the system in the future will understand how it was installed and how it should function.
8. Schedule Regular Maintenance
Regular maintenance is key to the longevity of your low-voltage system. Schedule periodic inspections and tests to ensure everything is functioning correctly.
Address any issues promptly to prevent small problems from becoming big ones. Regular maintenance helps extend the life of your system and ensures it continues to perform optimally.
9. Stay Updated with Technology
Technology is constantly evolving, and staying updated with the latest advancements in low-voltage systems is important. Regularly review new products and technologies that could enhance your system’s performance.
Keeping up with technological advancements can provide you with better tools and methods for installation and maintenance. It also helps in future-proofing your system, ensuring it remains efficient and up-to-date.
10. Train Your Team
Ensure that everyone involved in the installation is properly trained and knowledgeable about low-voltage systems. Regular training sessions and certifications can keep your team updated on best practices and new technologies.
A well-trained team is crucial for a successful installation. They will be better equipped to handle any challenges that arise and will be able to work more efficiently. Investing in training can pay off in the long run by reducing errors and improving the quality of your installation.
11. Implement Safety Measures
Safety should always be a priority during any electrical installation. Follow all safety guidelines and protocols to protect your team and ensure a safe working environment.
Use proper protective equipment, follow safety protocols, and ensure safety standards carry out all work. This protects your team and ensures that the installation is done correctly and safely, reducing the risk of accidents and damage to the system.
12. Evaluate and Improve
After completing the installation, evaluate the process and identify areas for improvement. Gather feedback from your team and use it to enhance future installations.
Continuous improvement is key to staying ahead in any industry. By evaluating each installation and identifying areas for improvement, you can refine your processes and techniques, ensuring better results in future projects.
Conclusion
Installing low-voltage wiring can be a complex task, but following these twelve steps can ensure a successful and efficient installation. Start by understanding your project requirements and choosing the right contractor. Plan your layout carefully, use quality materials, and follow best practices during the installation. Thoroughly test your system, document the installation, and schedule regular maintenance to keep everything running smoothly. Stay updated with technology, train your team, implement safety measures, and continuously evaluate and improve your processes.
For a successful low-voltage wiring installation, consider hiring experienced professionals. They can provide valuable insights and ensure your installation meets all standards and requirements.
Lynn Martelli is an editor at Readability. She received her MFA in Creative Writing from Antioch University and has worked as an editor for over 10 years. Lynn has edited a wide variety of books, including fiction, non-fiction, memoirs, and more. In her free time, Lynn enjoys reading, writing, and spending time with her family and friends.