Creating an outdoor planter that remains beautiful year-round is a fantastic way to enhance the charm and functionality of your outdoor space. A well-planned planter brings color, texture, and life to your patio, garden, or front porch, even during the dormant months.
Container gardening offers flexibility, making it easier to switch out plants based on the season or your changing tastes. With the right techniques, you can keep your outdoor space vibrant and welcoming all year long, adding to your home’s curb appeal and creating a lovely atmosphere that evolves with the seasons.
Step 1: Choose the Right Outdoor Planter
The foundation of a beautiful container garden is selecting the right planter. Whichever kind of planter you choose, it’s important to ensure it’s durable enough to withstand varying weather conditions.
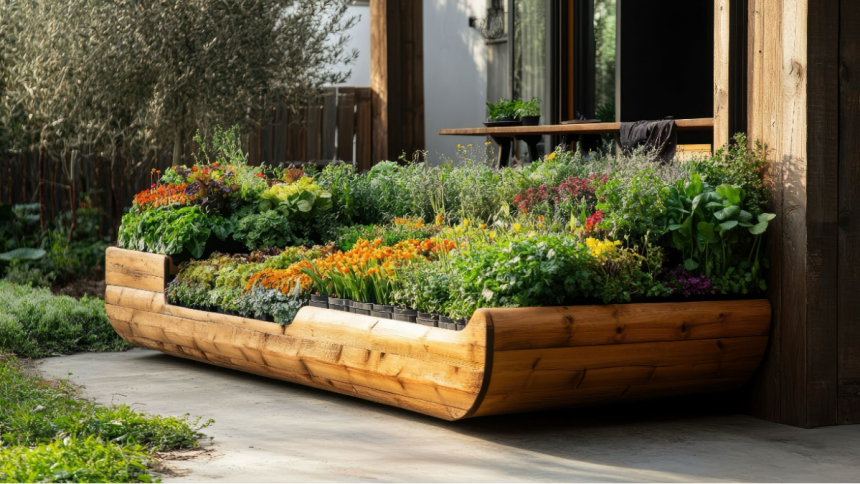
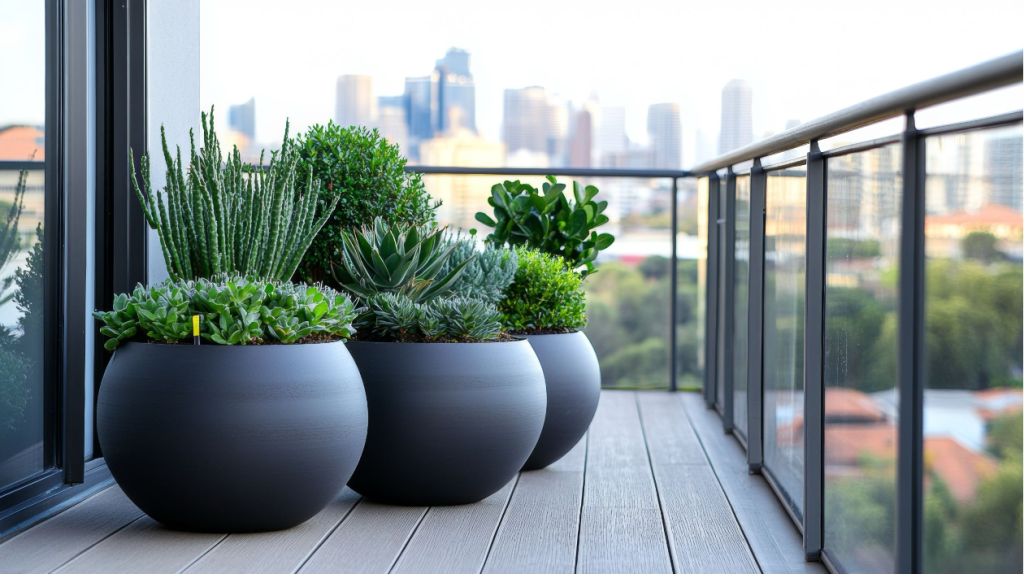
Planters made of fiberglass, concrete, or ceramic are excellent choices as they are attractive and can endure the outdoor elements. Tall planters are particularly effective for making a visual statement, while large planters offer ample room for plant roots to grow. Shop rectangular planters for a sleek and modern look that complements a variety of outdoor spaces.
Remember that proper drainage is essential, so choose an outdoor planter with sufficient drainage holes to prevent excess water from accumulating and damaging your plants.
Step 2: Use Drainage Material and Proper Soil Mix
Proper drainage is vital to keeping your plants healthy. Ensure the outdoor planter has enough drainage holes, and consider adding a layer of drainage material like gravel or stones before placing any soil. This step helps to prevent water from accumulating at the bottom and causing root rot.
When it comes to the soil, choose a high-quality potting mix suitable for container gardening. The right soil mix will promote proper aeration, retaining moisture while allowing excess water to escape easily. For a large planter, using a combination of lightweight fillers and soil ensures a balanced environment for the plants.
Step 3: Consider Climate and Microclimate
When planning a year-round outdoor planter, it’s important to consider your local climate and the specific microclimate of your outdoor space. For instance, areas exposed to strong winds or intense sunlight might require more resilient plants that can handle these conditions. Conversely, if your planter is in a shaded or partially sheltered area, choose plants that thrive with less direct sunlight.
By understanding the environment your planter is in, you can select plants that are better suited for long-term health, reducing maintenance and ensuring continuous growth throughout the year. This approach will help you create an effective container garden that remains beautiful and resilient no matter what the weather brings.
Step 4: Select Plants That Thrive Year-Round
For a beautiful outdoor planter that remains captivating all year, choose a combination of plants that thrive in different seasons. Evergreens, perennials, and flowering annuals can be combined to create visual interest throughout the year.
Consider using tall grasses, which are ideal for a tall planter, as a focal point and adding colorful annuals around the base. Evergreen shrubs, flowering bulbs, and seasonal blooms will ensure your planter looks vibrant during every season. This thoughtful selection helps create a dynamic container garden that transitions smoothly through the changing months.
Step 5: Layering Plants for Visual Appeal
Layering plants within your outdoor planter is key to achieving a rich, visually appealing arrangement. Begin with a tall focal plant in the center or back, such as an ornamental grass or a small shrub. Add medium-sized flowering plants to create a second layer, and then finish with low-growing or cascading plants around the edges of the container.
This multi-layered effect works well with large and tall planters, adding depth and interest to your outdoor space. A variety of plant heights, forms, and colors will ensure that your container garden remains captivating no matter the season.
Step 6: Keep the Colors Fresh Throughout the Year
When filling your outdoor planter, consider how to create a color palette that will evolve throughout the year. Start by choosing plants that bloom in different seasons—spring bulbs like daffodils and tulips, summer annuals such as marigolds and petunias, and fall favorites like chrysanthemums.
Adding a variety of evergreen plants will help maintain the structure during winter. This thoughtful mix ensures that your container gardening efforts lead to an outdoor space that always has something beautiful on display.
Step 7: Refresh with Seasonal Accents
To maintain a beautiful year-round outdoor space, adding seasonal accents to your planter is a good idea. During spring, try adding colorful flowers in small plastic containers that can be easily switched out.
You can add pumpkins, gourds, or decorative branches in autumn to enhance your container garden’s visual appeal. Winter accents, like red-twig dogwood or holiday lights, can give your large planters a festive touch.
Simple seasonal updates make your planter feel current, keeping it in tune with the atmosphere and weather while maintaining a charming outdoor space.
Conclusion
Filling an outdoor planter for year-round beauty is all about careful planning and attention to detail. From selecting the right planter to maintaining an attractive appearance throughout the seasons, each step is crucial for a thriving container garden.
With a mix of evergreens, annuals, perennials, and the occasional seasonal refresh, your outdoor space will remain a welcoming, colorful haven all year long. By embracing container gardening techniques and planning thoughtfully, you can create a stunning outdoor planter that enhances your home no matter the season.
Lynn Martelli is an editor at Readability. She received her MFA in Creative Writing from Antioch University and has worked as an editor for over 10 years. Lynn has edited a wide variety of books, including fiction, non-fiction, memoirs, and more. In her free time, Lynn enjoys reading, writing, and spending time with her family and friends.