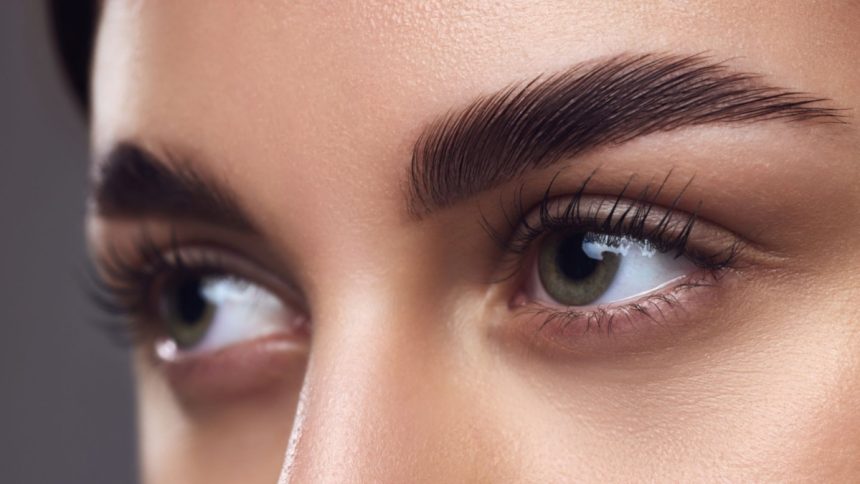
Long, fluttering eyelashes can transform your entire look, adding a touch of glamor to even the simplest makeup routine. However, frequent trips to the salon for lash extensions can be costly and time-consuming. What if you could achieve similar, stunning results from the comfort of your home? It’s totally possible, and we’re here to guide you through the process. Learning to apply lashes at home not only saves you money but also allows you to customize your look for every occasion. Let’s talk about the art of self-application, where convenience meets beauty, enabling you to enhance your eyes anytime, anywhere.
Getting Started with DIY Lash Extensions
The journey to applying your own lash extensions begins with understanding what you need. At its core, this process requires patience, practice, and the right tools. Before you can master the art, choosing high-quality lashes that suit your natural eye shape and desired look is crucial. Whether you prefer a dramatic or more natural finish, selecting the right type of lash is the first step.
Setting up your workspace is equally important. Ensure you have good lighting and a comfortable vanity or bathroom counter spot. A magnifying mirror can be a game-changer, helping you see clearly as you work on the delicate task of lash placement. Having everything organized and within easy reach will streamline the process, making it smoother and more enjoyable.
Choosing Your Lashes and Tools
The key to professional-looking lashes lies in using a lash extension kit from a reputable lash brand that has all the tools you need to do a great job, even on your first try. These kits typically include several lash styles, adhesives, an applicator, and sometimes even a fan to help speed up the drying process. Investing in a quality kit means you’re set up for success, with carefully selected tools designed to work together, providing everything you need for a seamless application.
When choosing your lashes, consider different lengths and curls that complement your natural lashes and fit the shape of your eyes. Some kits offer a range of styles, from natural to dramatic, giving you the flexibility to experiment with your look. The adhesive is also crucial—it should be long-lasting but gentle on your eyes. Look for latex-free options if you have sensitive skin.
Preparing Your Natural Lashes
Before you start applying your new lashes, it’s essential to prepare your natural ones to ensure the best adherence and the most attractive finish. Begin by cleaning your eyelashes and eyelids to remove any oil, dirt, or makeup residue. A gentle, oil-free makeup remover and a mild soap or lash cleanser can do the trick. This step is crucial for making sure the adhesive sticks properly and your lash extensions last longer.
Once your lashes are clean, you might find it relaxing to diffuse some essential oils to set the mood for a flawless lash application. This can make the experience more enjoyable and turn a routine beauty task into a pampering session. After cleaning, dry your lashes gently with a lint-free cloth or let them air dry. Use a lash primer if your kit includes one—this will further help in strengthening the bond between the natural lashes and the extensions.
The Application Process
Applying lash extensions at home is a delicate process that requires precision and calm. Begin by using tweezers to carefully remove the lashes from their tray. Lean toward using an applicator specifically designed for lash extensions as it gives you better control and helps to precisely place the lashes. Dip the end of the extension into the adhesive; remember, a little goes a long way. Aim for a thin, even coating without overloading the lash.
Next, look down into your mirror, but keep your eyes slightly open to see where you’re placing the lash. Place the lash on top of your natural lash line, not on the skin of the eyelid, to avoid irritation. Start from the outer corner of the eye and work your way inwards, placing each lash individually. Allow the adhesive to dry for a moment before adjusting the lash to the perfect position. The goal is to make the extensions look as natural as possible, blending seamlessly with your real lashes.
Maintaining Your Lashes
Maintenance is key to ensuring your lashes last and continue to look their best. First and foremost, avoid oil-based products around your eyes, as they can loosen the adhesive. Instead, opt for water-based makeup removers and gentle cleansers. It’s also important to avoid rubbing your eyes or pulling on the lashes, as this can cause them to shed prematurely.
Regular combing with a clean spoolie brush will help keep your lashes neat and free of tangles. This simple step, done gently every morning, can help maintain the aesthetic integrity of your lashes. Sleeping on your back is advisable to prevent crushing them. With proper care, your lash extensions can last several weeks before needing a touch-up or full replacement.
Now Flutter On..
Mastering the art of applying lash extensions at home is fulfilling and adds a personalized touch to your beauty routine. With the right tools, a bit of practice, and patience, you can achieve beautiful, eye-enhancing results that rival those of a professional salon. The freedom to craft your look on your schedule, not to mention the cost savings, makes this skill a valuable addition to your personal care repertoire. Embrace the process and enjoy the stunning results, knowing you achieved them all on your own!
Lynn Martelli is an editor at Readability. She received her MFA in Creative Writing from Antioch University and has worked as an editor for over 10 years. Lynn has edited a wide variety of books, including fiction, non-fiction, memoirs, and more. In her free time, Lynn enjoys reading, writing, and spending time with her family and friends.


